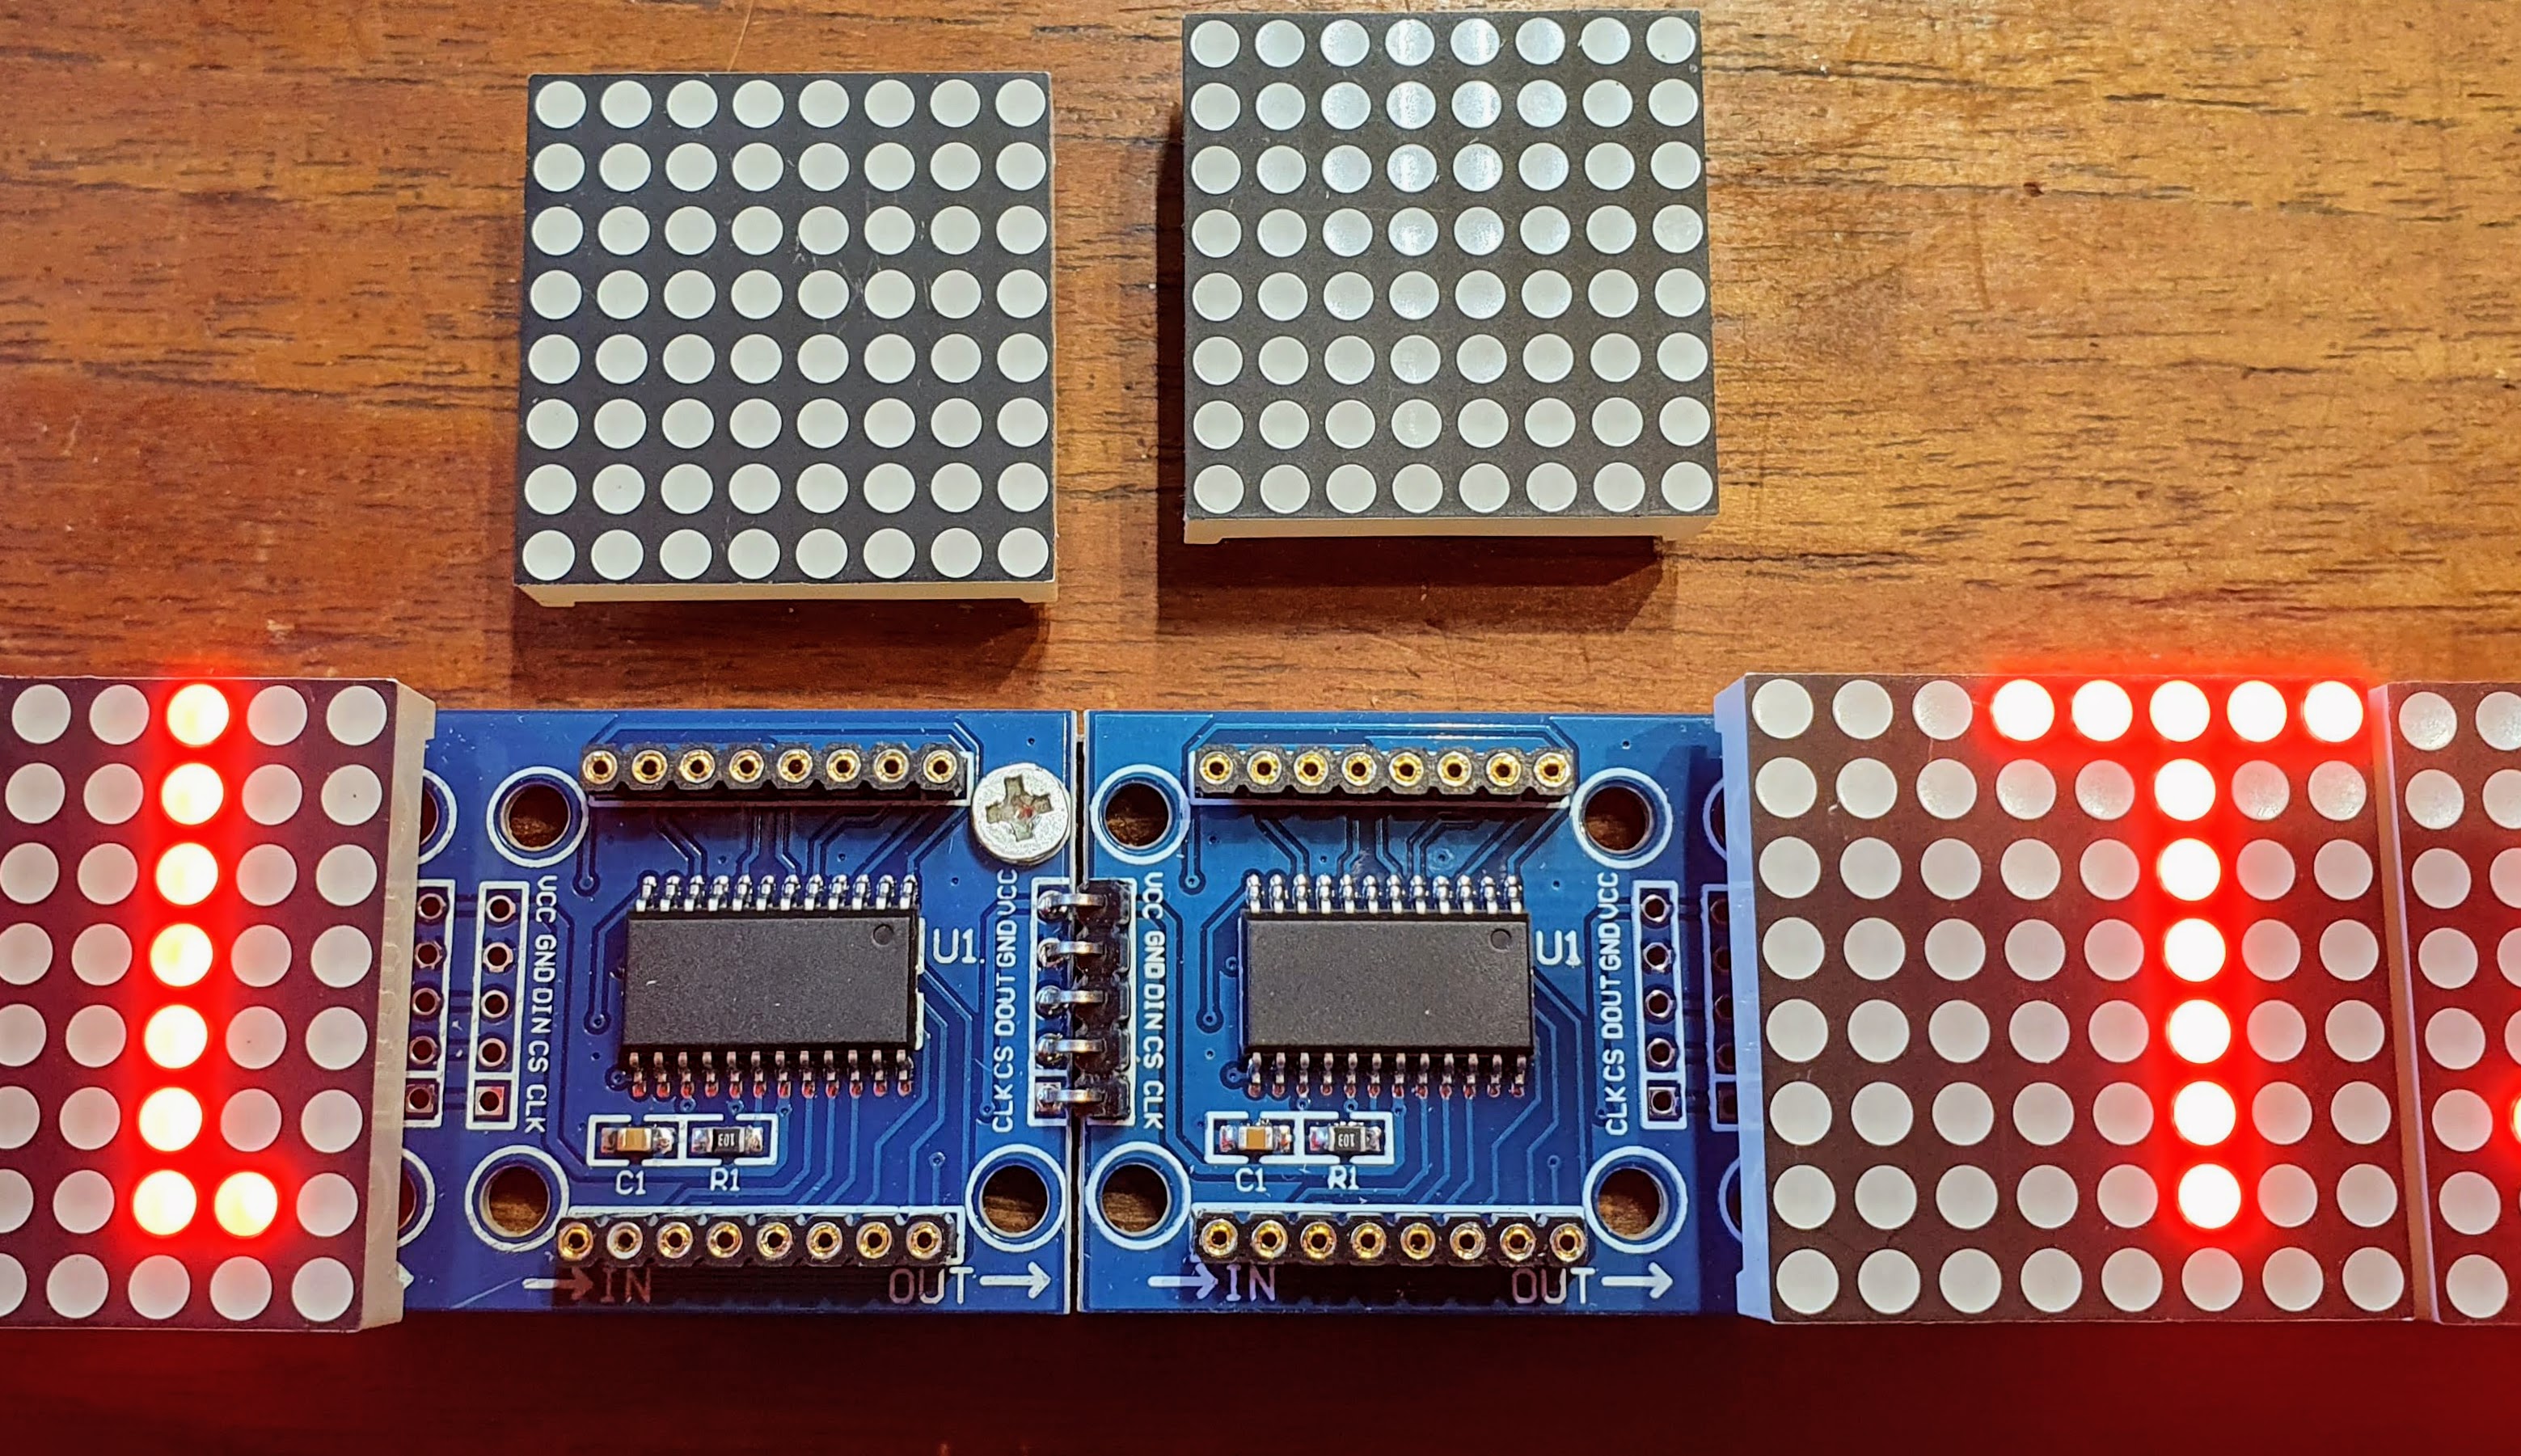
MAX7219 driver for multiple 8x8 dot matrix modules~
This feature is not included in precompiled binaries
When compiling your build add the following to user_config_override.h:
#define USE_DISPLAY
#define USE_DISPLAY_MAX7219_MATRIX
#define USE_UTF8_LATIN1             // optional. It defines additionaly UTF8_C2 and UTF8_C3 characters and needs +1k more memory.


Wiring~
Connect the MAX7219 display module's pins to any free GPIOs of the ESP8266 or ESP32 module. VCC should be 5V. Depending on the number of used modules and the brightness, the used current could be more than 1A. A seperate 5V adapter connected to the display directly could be helpfull.
Connect the 5 outgoing pins (VCC, GND, DI, CS, CLK) of the first module to the next one. With this you can connect up to 32 modules into a line.
Configuration~
Assign the pins as follows from Tasmota's GUI:
DIN hardware pin --> "MAX7219 DIN"
CS  hardware pin --> "MAX7219 CS"
CLK hardware pin --> "MAX7219 CLK"
Once the GPIO configuration is saved and the ESP8266/ESP32 module restarted, set the Display Model to 19 and Display Mode to 0
DisplayModel 19
DisplayMode 0
Depending on order of the wired 8x8 matrix modules you have got a display of size pixel_width x pixel_height. The size has to be set with the commands "DisplayWidth
E.g. we use 12 8x8 dot modules in one line --> height = 8 dots, width = 12x8 = 96 dots
DisplayHeight 8
DisplayWidth  96
After the ESP8266/ESP32 module has restarted, turn ON the display with the command
Power ON
DisplayText Hello Tasmota!
Commands~
Now, the following "Display" commands can be used:
| Command | Parameter | Note |
|---|---|---|
| DisplayText | Sends the text to the display. If the text fits into the display, it is shown in the center. Otherwise it scrolls to the left and repeats as long it is cleared or new "DisplayText" overwrites it. | |
| DisplayDimmer | [0..100] | 0 = Turn the display off, 100 = maximum luminosity. Note that the MAX7219 supports 16 levels of brightness. |
| Power | [ON/OFF] | Switches the display on or off. When OFF, the display buffer is not cleared and will be shown again after "Power ON". Other display commands are still active when OFF. |
| DisplayClear | Clears the display. | |
| DisplayScrollDelay | [0..15] | Default = 0 (max speed). Sets the speed of text scroll. Smaller delay = faster scrolling. The maximum scroll speed is 50ms per pixel with DisplayScrollDelay 0. |
| DisplayWidth | [8..256] | Sets the pixel width of the display (8x number of modules in a row). |
| DisplayHeight | [8..256] | Sets the pixel height of the display (8x number of module rows). |
| DisplayRotate | [0/2] | 0: default (when first module is left), 2 upside down (turns 180°, when first module is right). |
| DisplayClock | [0/1/2] | Displays a clock. 1: 12 hr format, 2: 24 hr format, 0: turns clock off. |
Note: The DisplayClock mode is not persistent. After a restart it has to be set again manually or use the following rule to have clock mode permanently.
Rule1 ON System#Boot DO DisplayClock 2 ENDON
Rule1 1
Constraints~
- Only one text row is supported
- Only standard ASCII characters are supported.
- UTF8 encoded latin1 characters are supported when compiled with
#define USE_UTF8_LATIN1. Unknown characters are displayed as "_". - Entry of characters in hex format, e.g.
~E9is not supported. #define USE_DISPLAY_MAX7219_MATRIXdisablesUSE_DISPLAY_MAX7219andUSE_DISPLAY_TM1637(made for seven segment displays), because it uses the same pin configuration. It is not possible to use dot matrix and seven segment disply at the same time.
See also~
- YouTube MAX7219 Dot Matrix Display in Tasmota 16 minutes example for a digital clock, how to compile and configurate