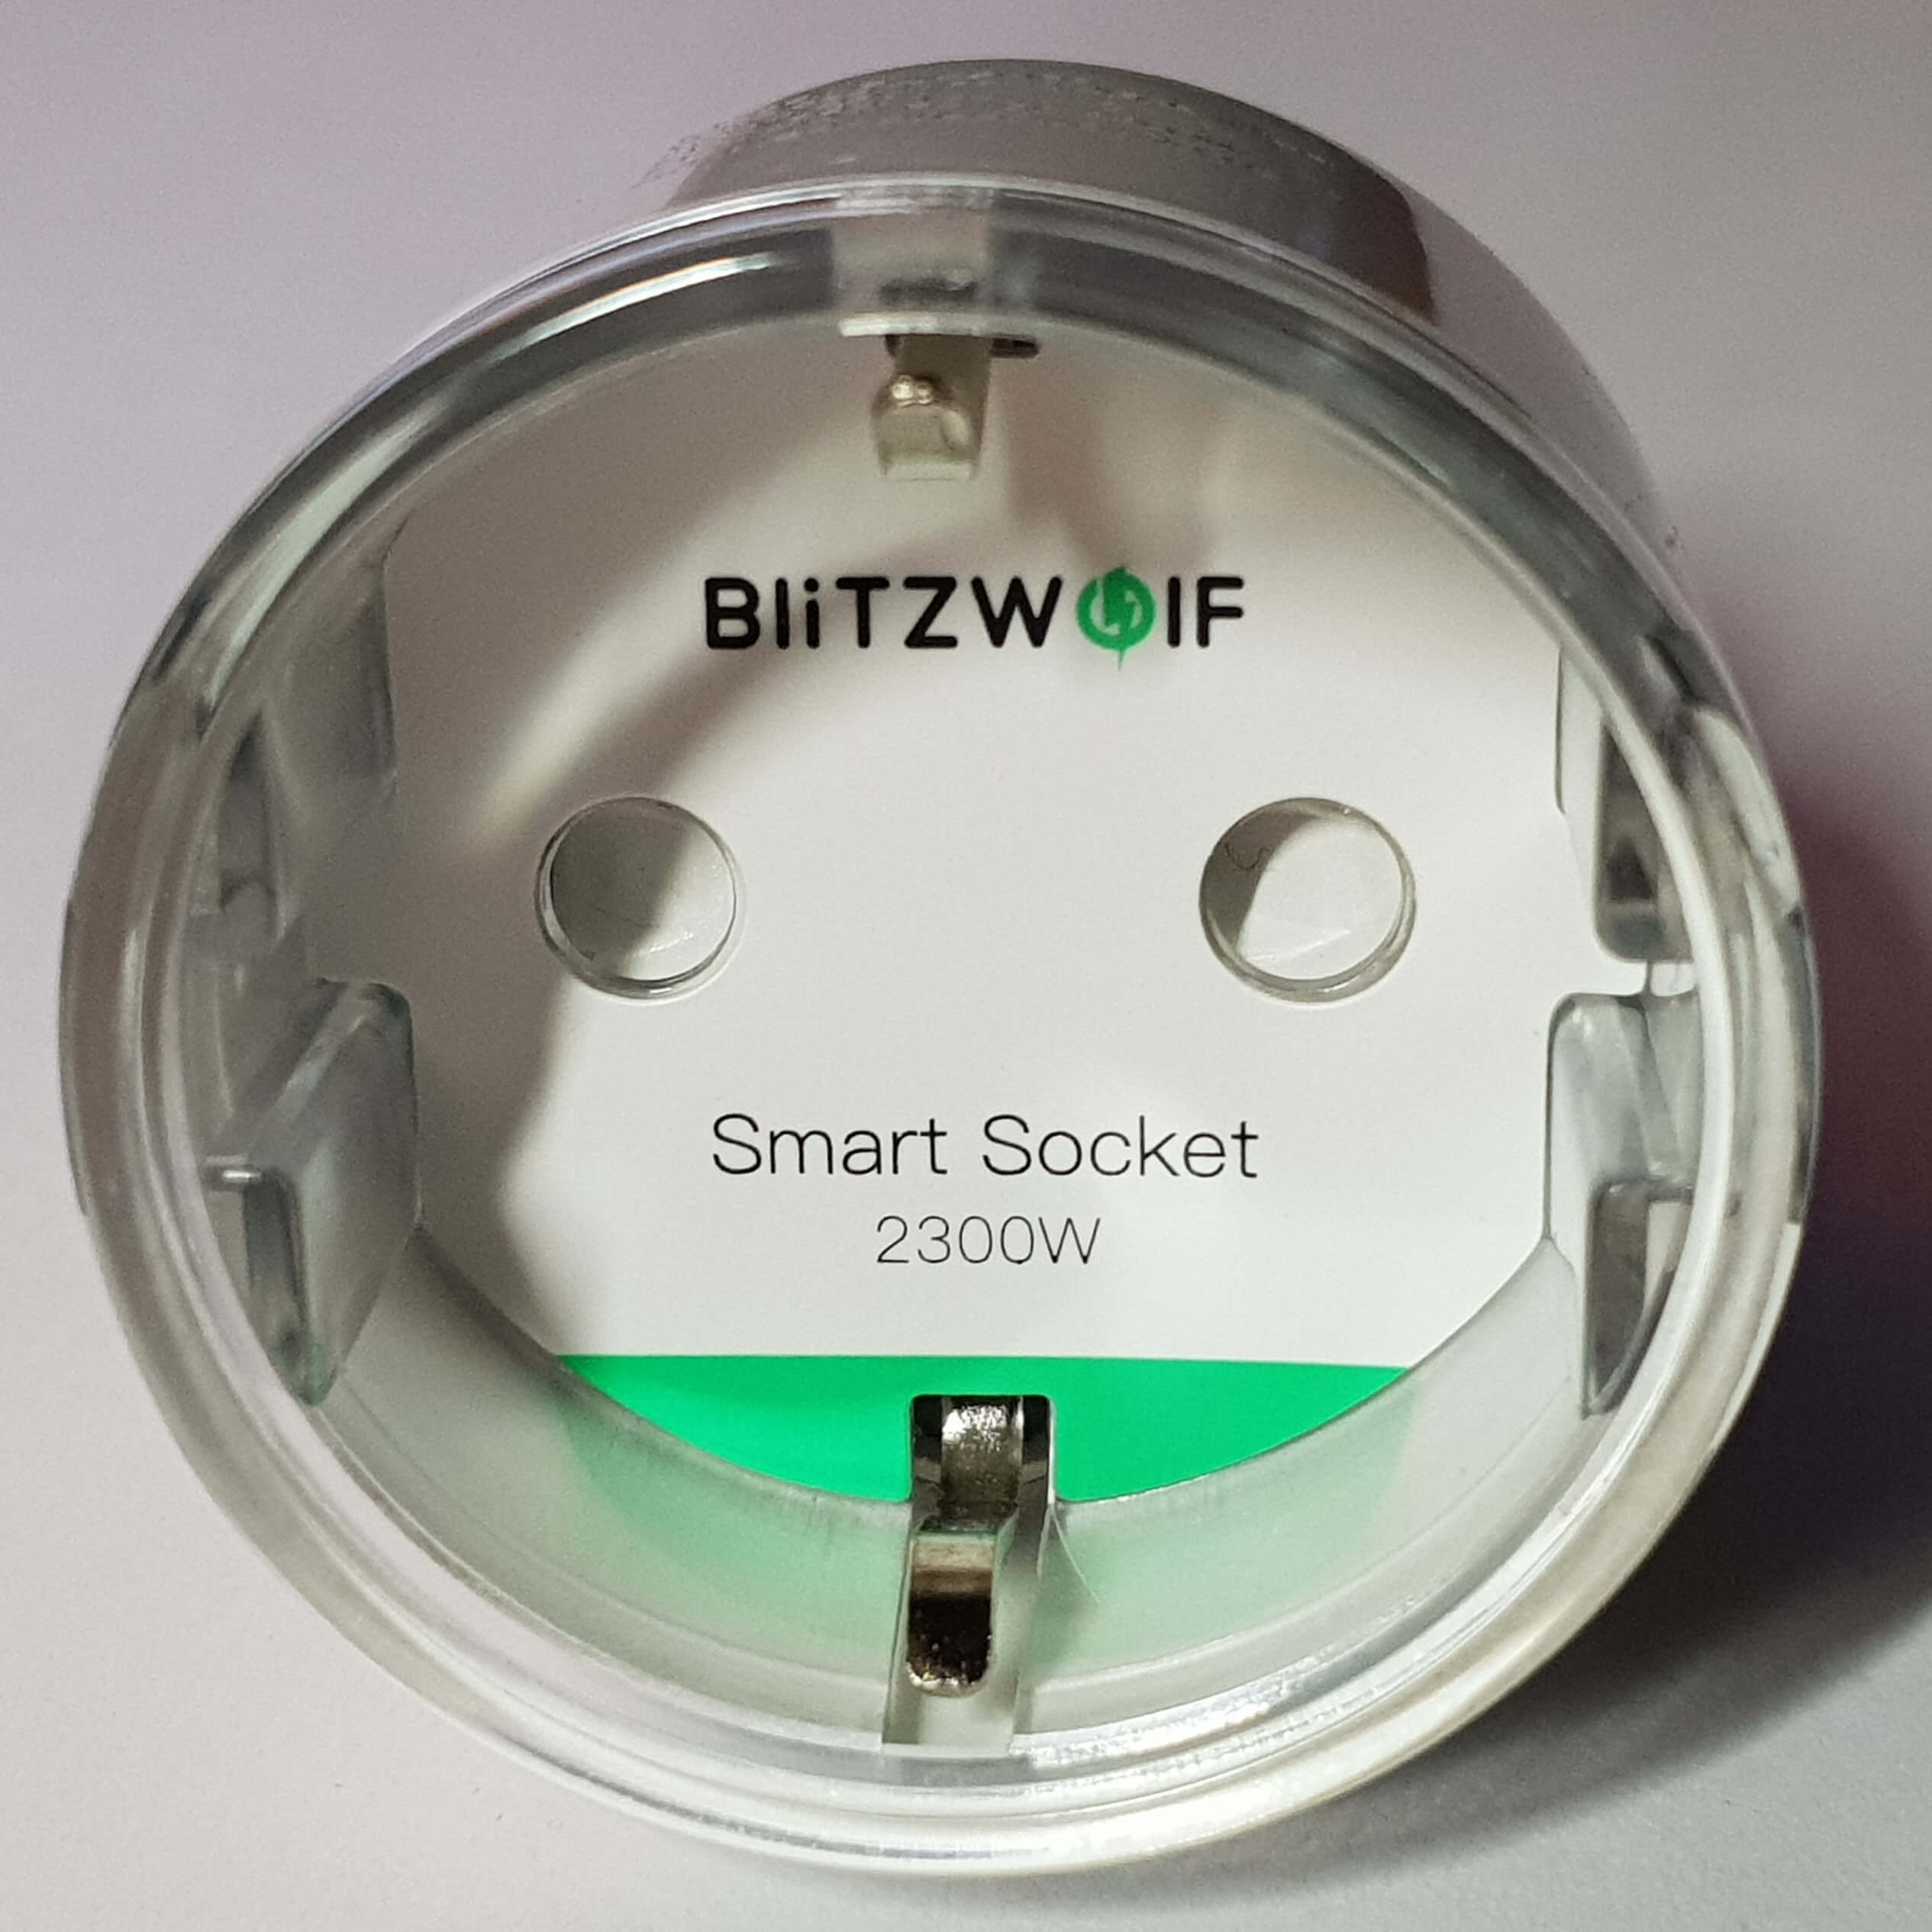
The BlitzWolf BW-SHP6, Gosund SP111, and the Nous A1 are basically the same device, barring the branding.
Product page: - BlitzWolf® BW-SHP6 - 2300W EU WIFI Smart Socket - Gosund SP111 - Nous A1
Device needs exact calibration with a load >=60 Watt to gain good results! For further infos see Issue #4727
Serial Connection~
Please see the Hardware Preparation page for general instructions.
There are currently at least two versions of this device. The (newer) Version has exposed contacts with holes for all connections necessary to flash tasmota, while the old requires soldering of cables to some points.
For the older Version:
Step 1~
Disconnect device from power source!
Step 2~
Remove one screw on the back of the device. PH1 screwdriver required.

Step 3~
Undo 2 screws. PH1 screwdriver required. Disconnect antenna.
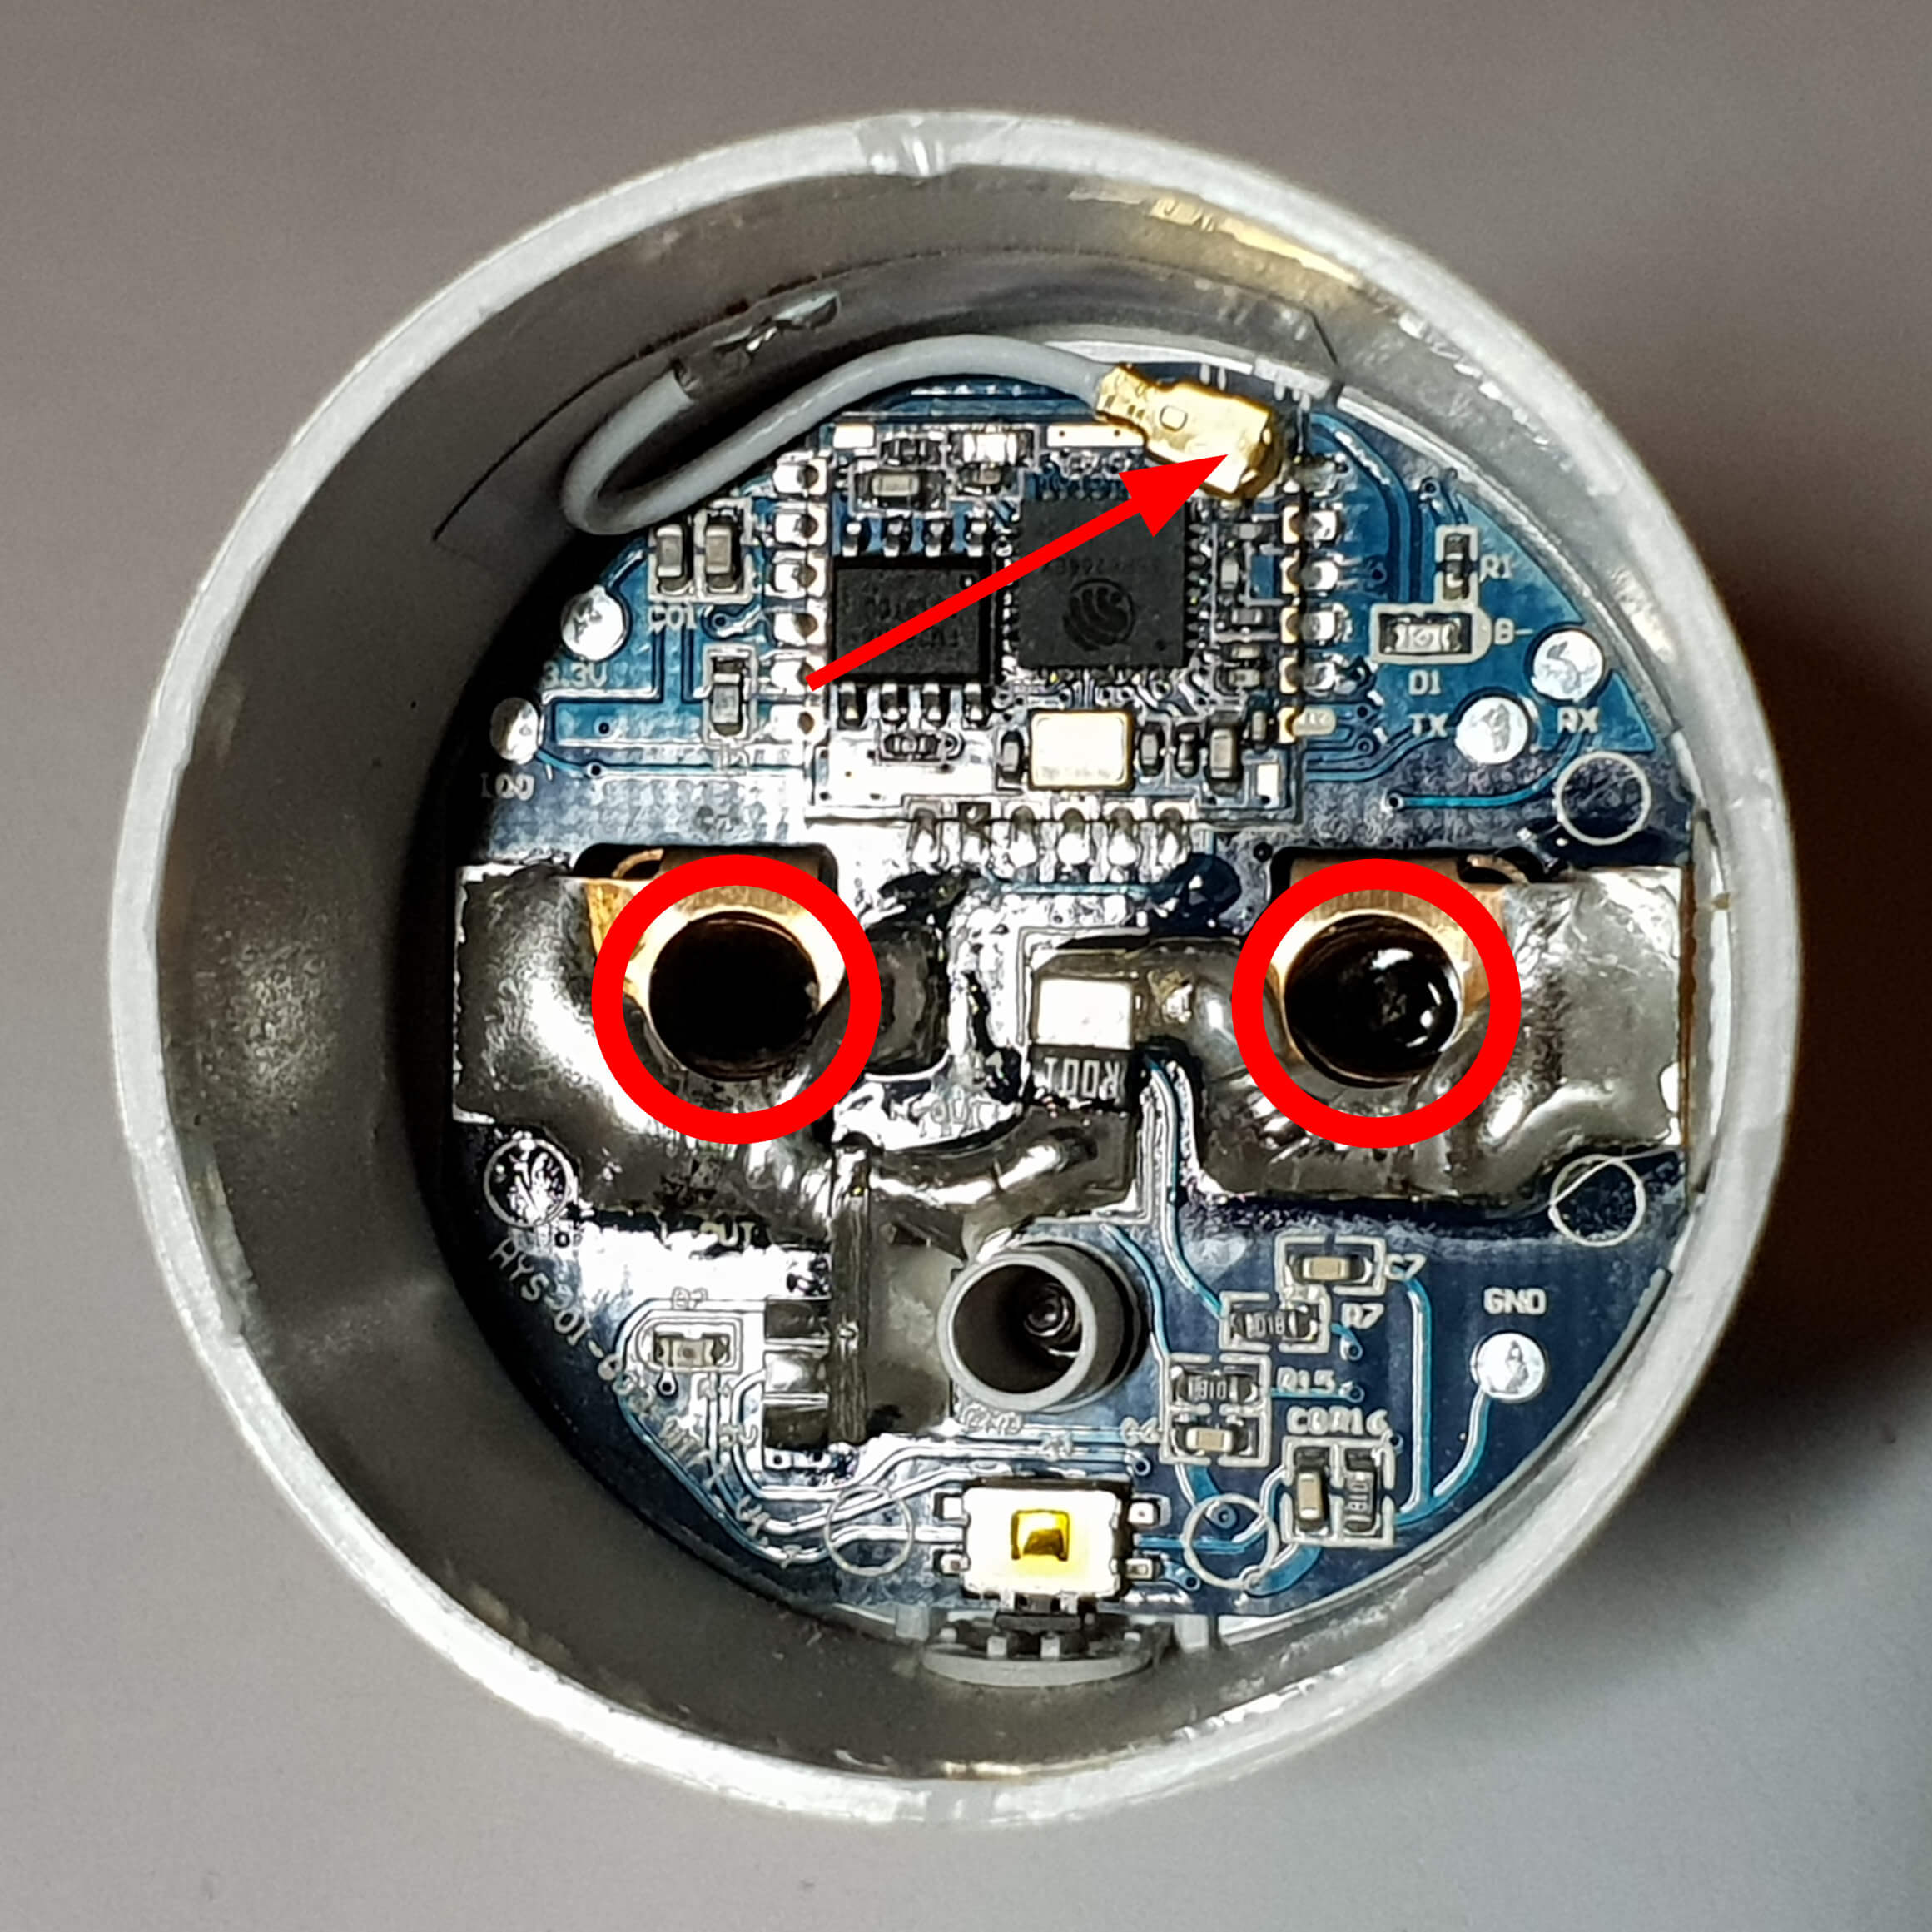
Step 4~
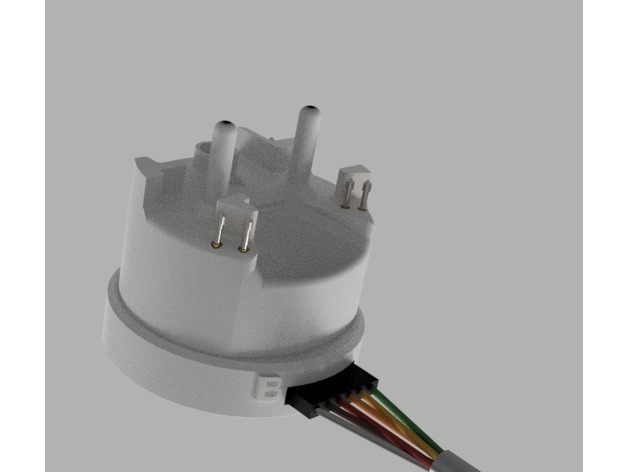
Carefully remove PCB from casing for easier soldering. * Don't stress antenna cable too much. * Don't lose metal tube.
Step 5~
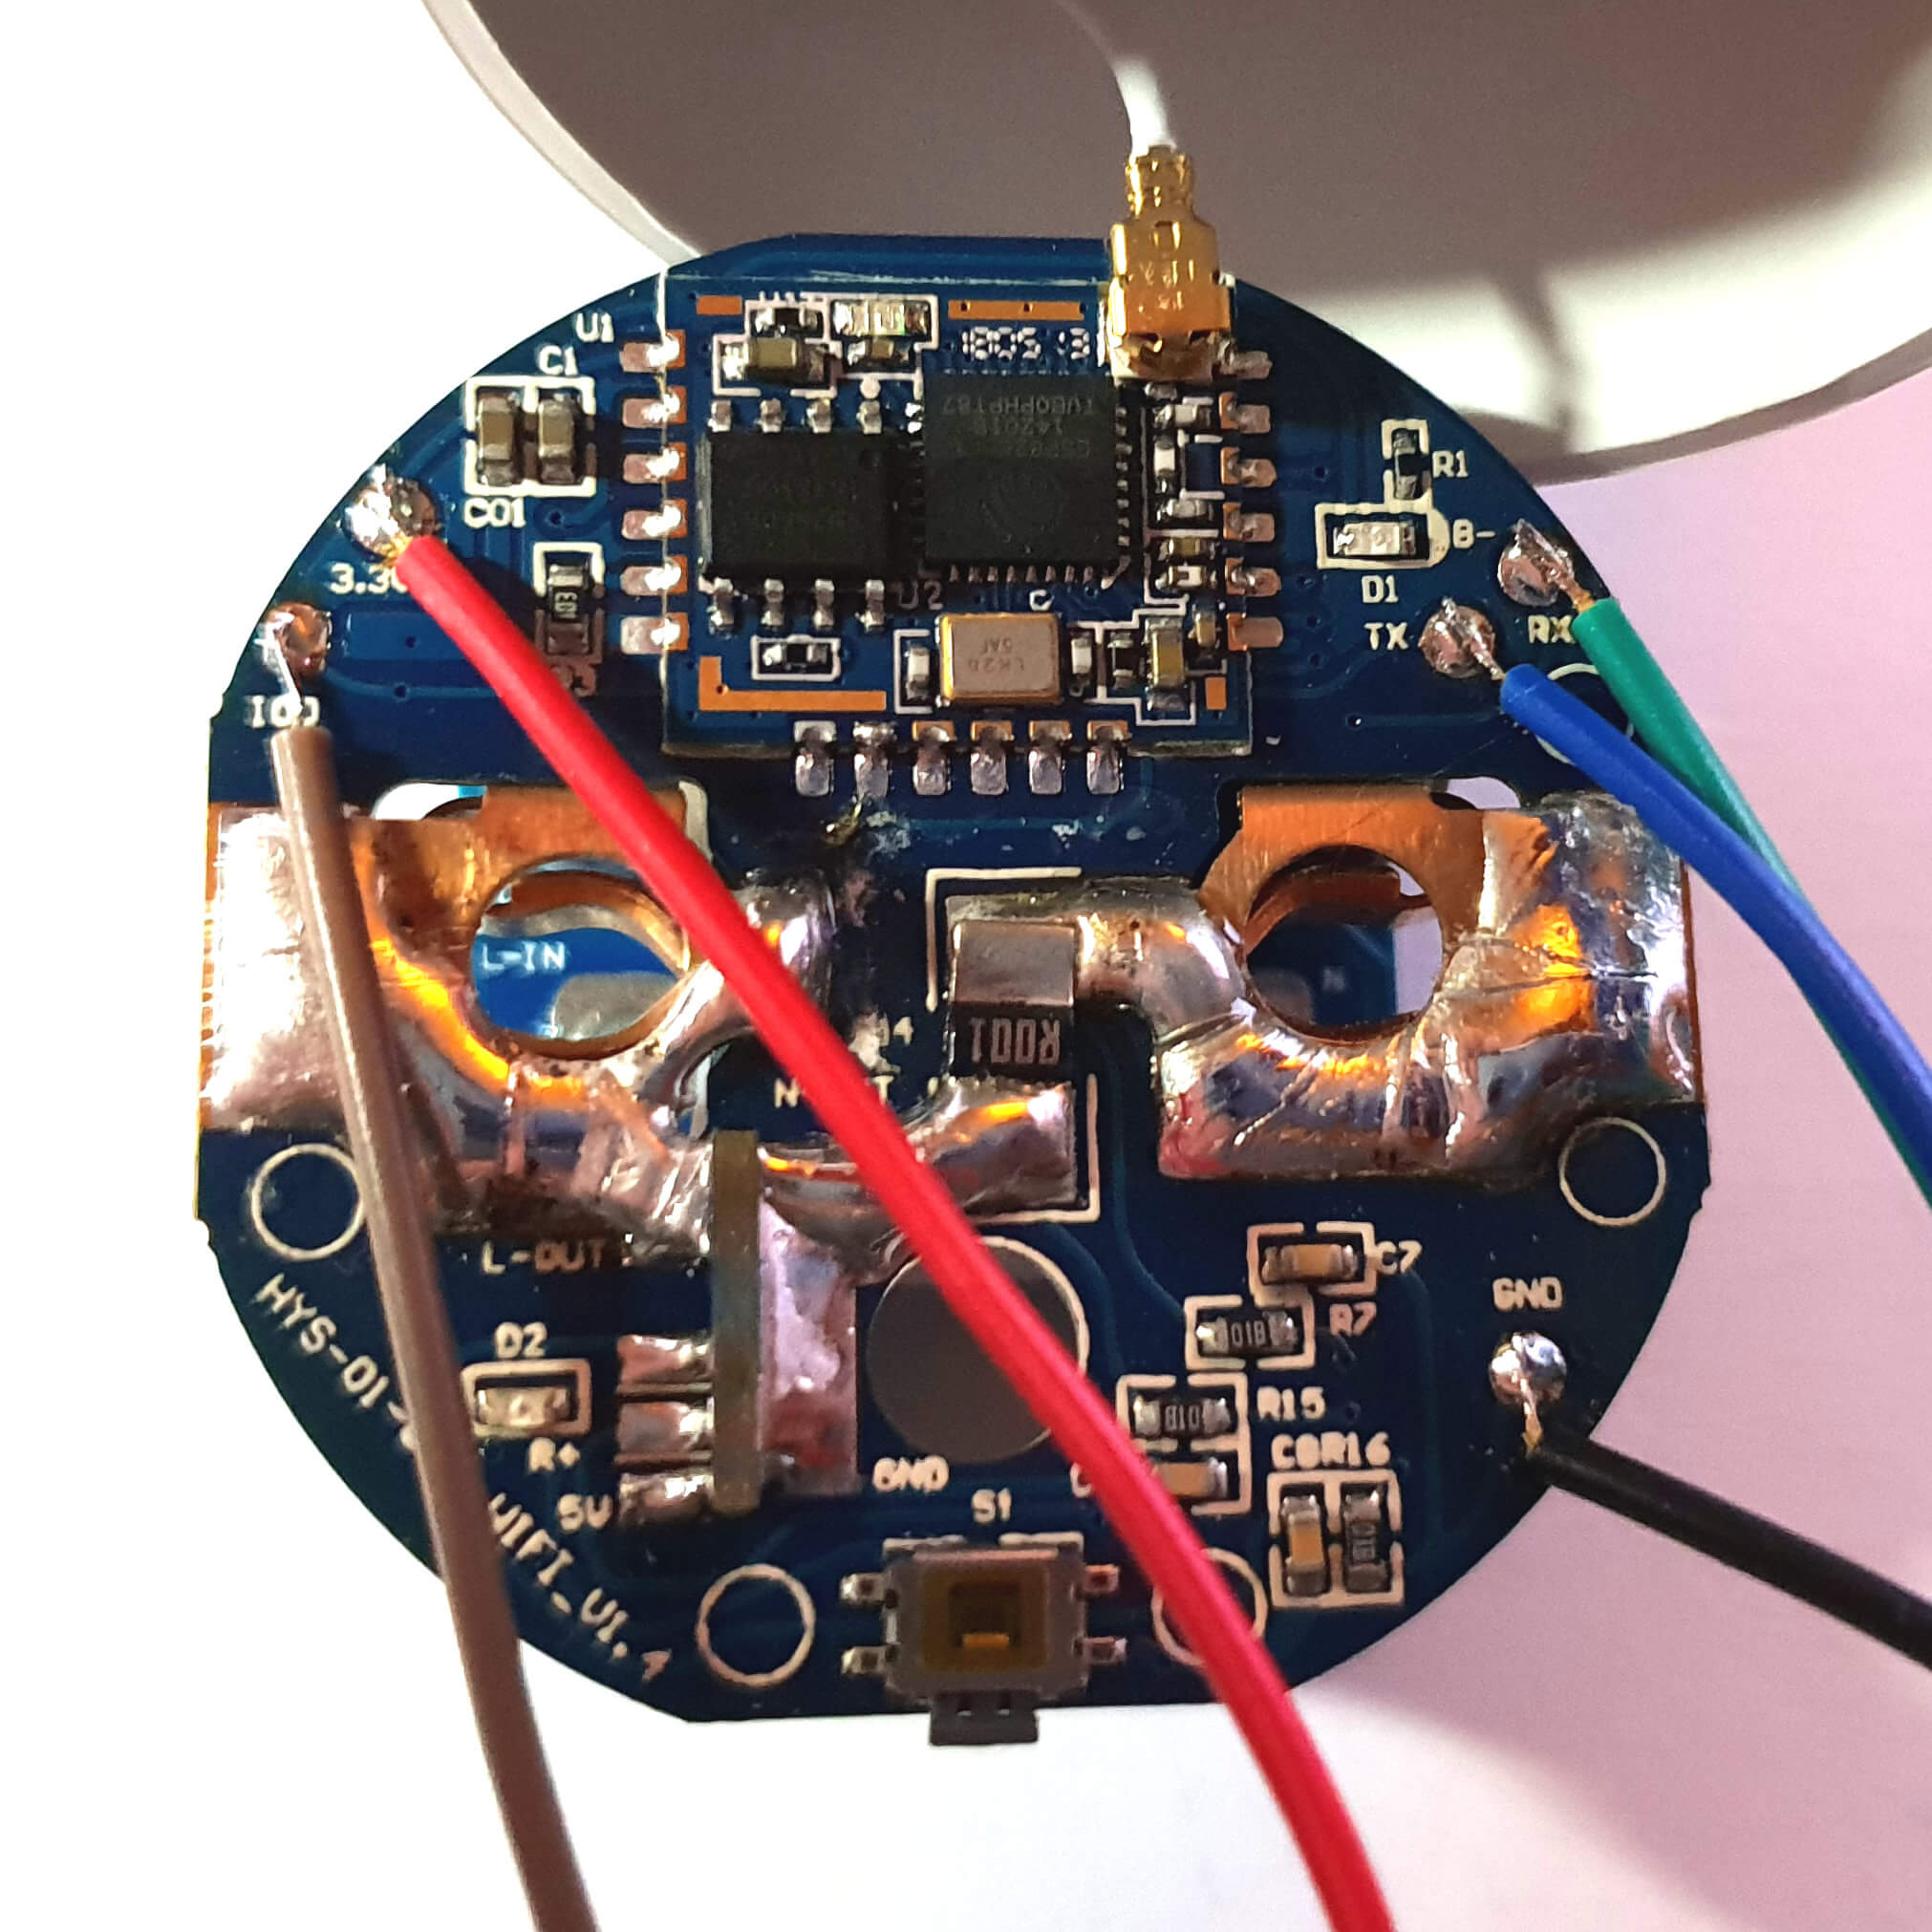
Solder cables to the ESP Pins.
SHP6 10A model: 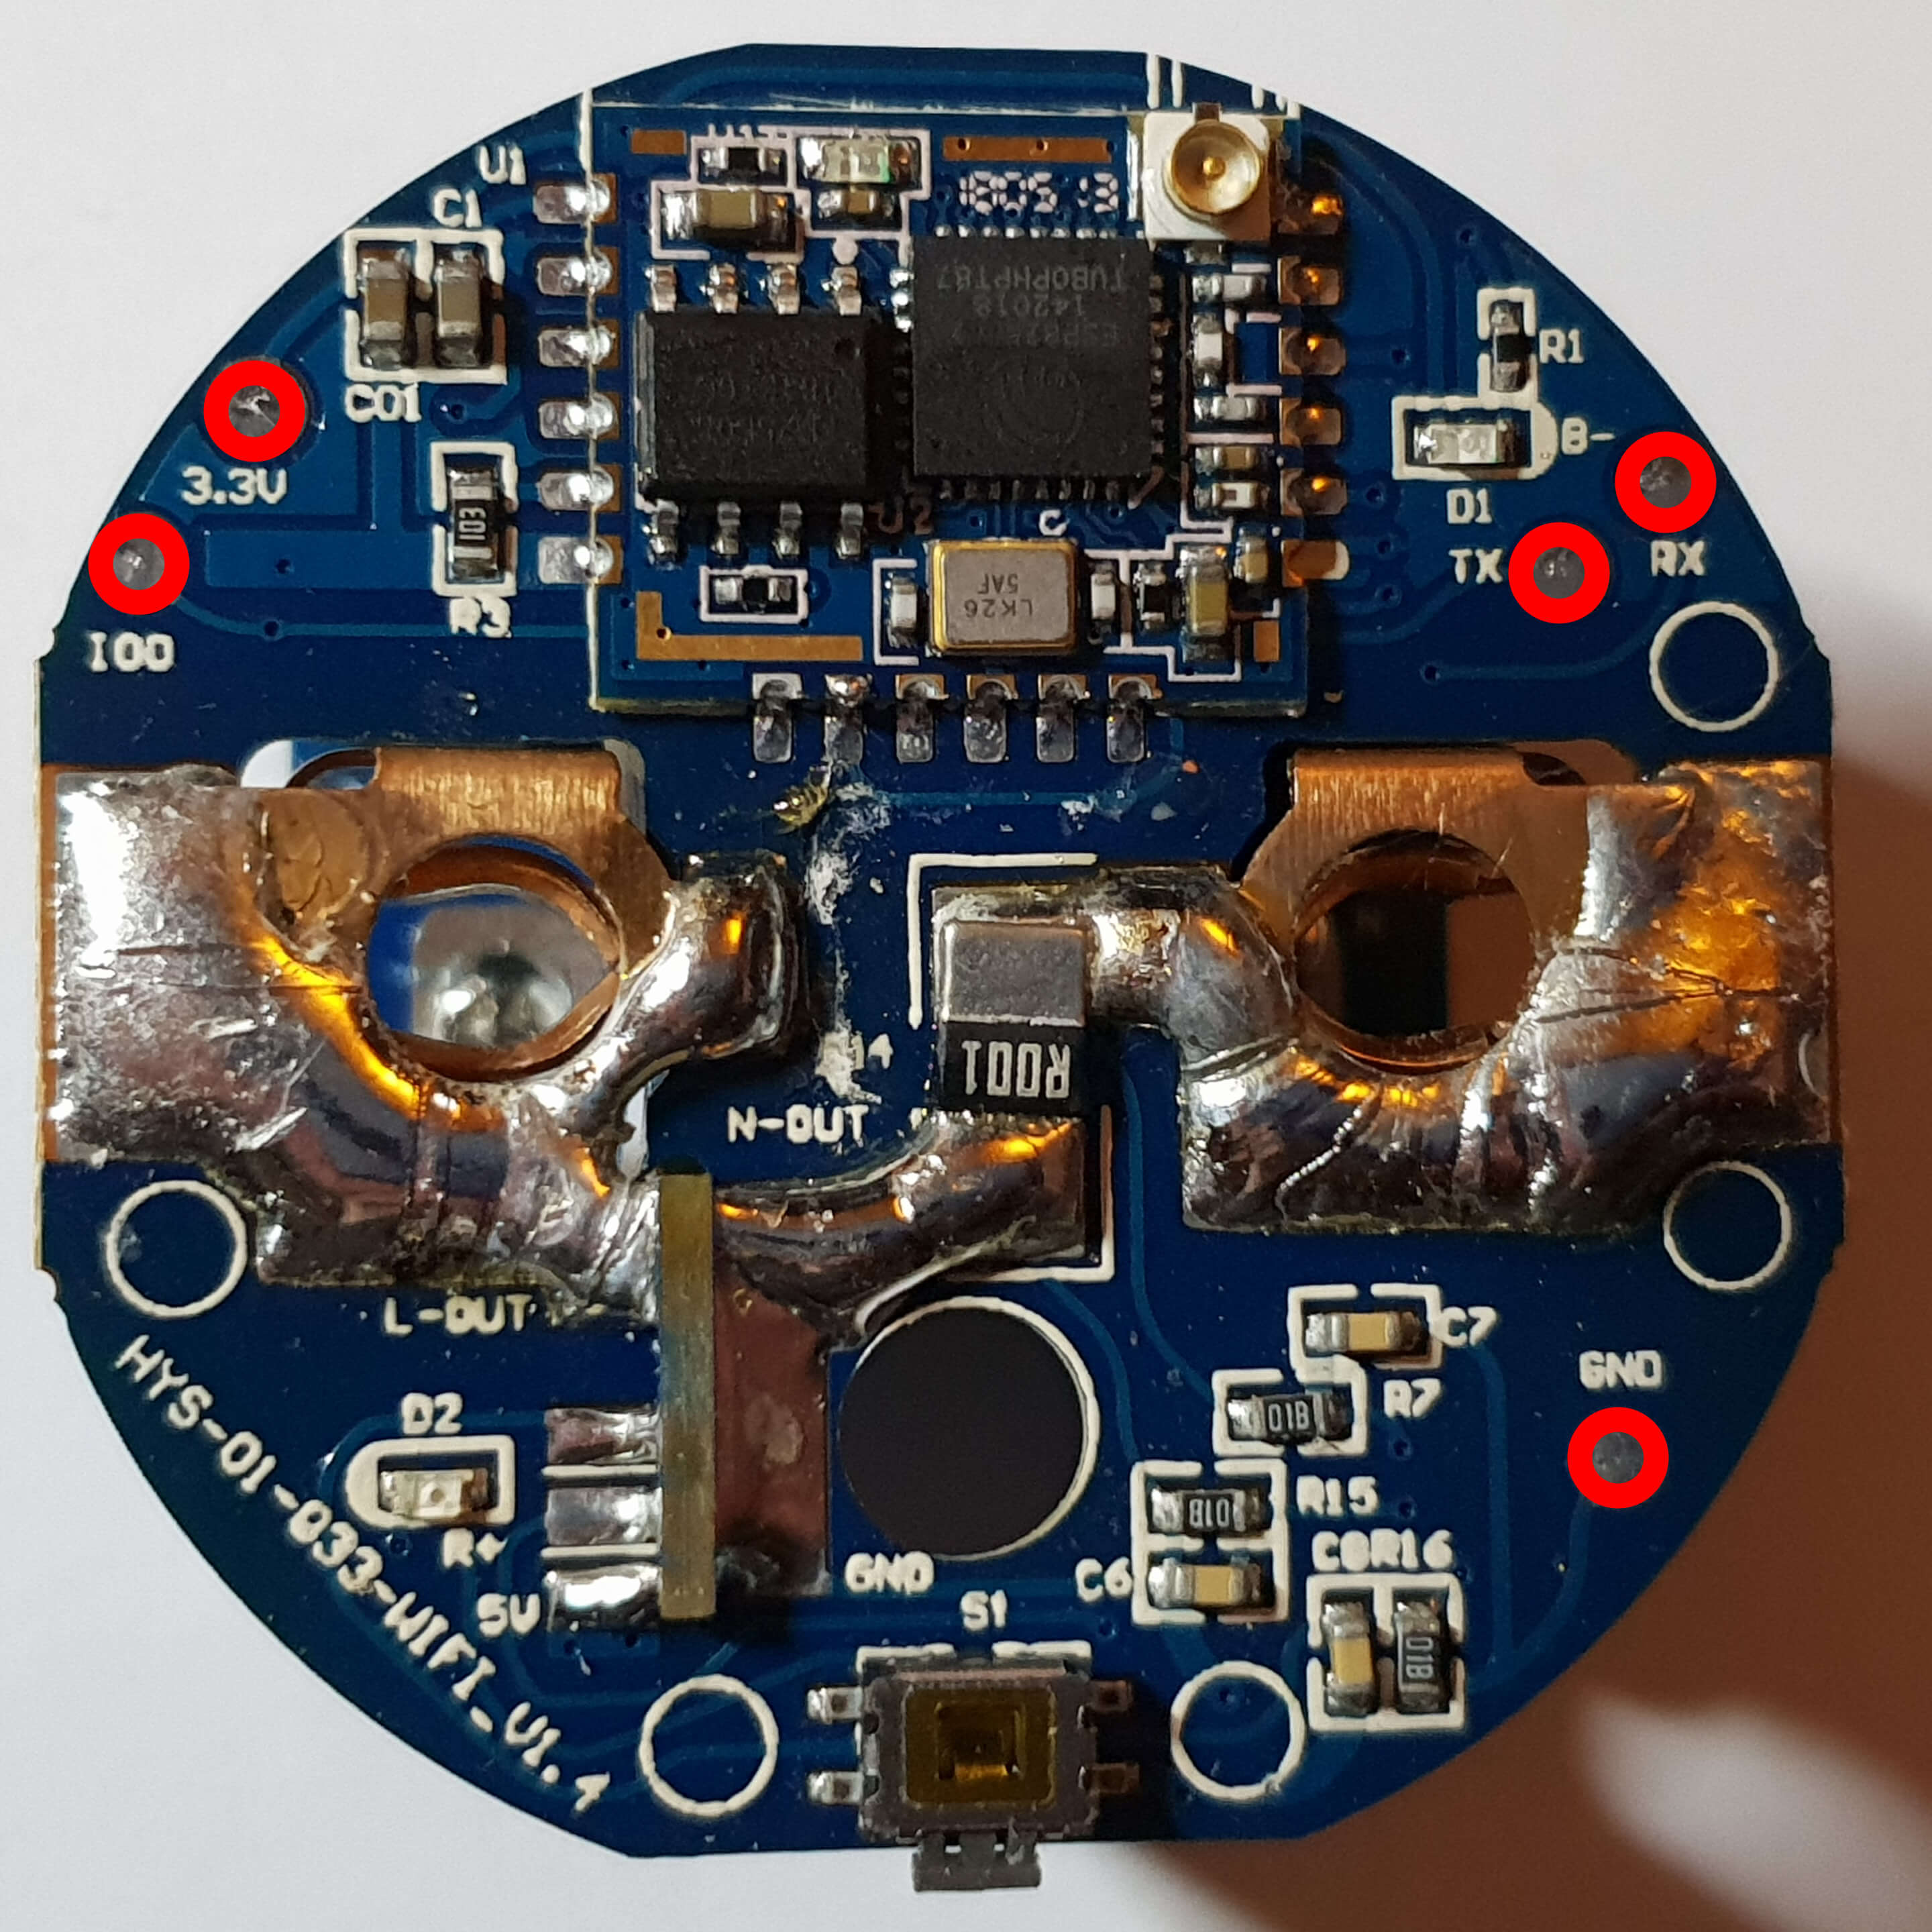
SHP6 15A model: 
If you do not want to solder you can try using crocodile clips and manually push a jumper cable first to IO0 (enter flash mode while booting, i.e. connect IO0 to ground) and then during flashing push a jumper to TX. Just be careful to not cause any short-circuit with the clips on the other side of the pads.
Step 6~
Connect serial adapter and make a shortwire between Pin IO0 and GND during startup (for entering flashmode).
Step 7~
Erase flash to avoid issues with dropping WiFi connection.
Example using esptool:
esptool.py --port COM3 erase_flash
Step 8~
Flash Tasmota.
Step 9~
Select the correct configuration under Configuration -> Configure Module or apply correct template:
As an alternative for steps 3 to 5:~
The following programming adapter could be an option, which requires no soldering or significant disassembly on the SHP-6. It significantly reduces the effort of reflashing multiple SHP-6 units. Thingiverse link
For Version 2 for steps 3 to 5:~
The new Version has exposed pads with holes for Ground, Reset, TX, RX, Vcc 3.3.V and GPIO0. YOu can use small jumper cables to directly connect a programmer, so no further disassembly is required. 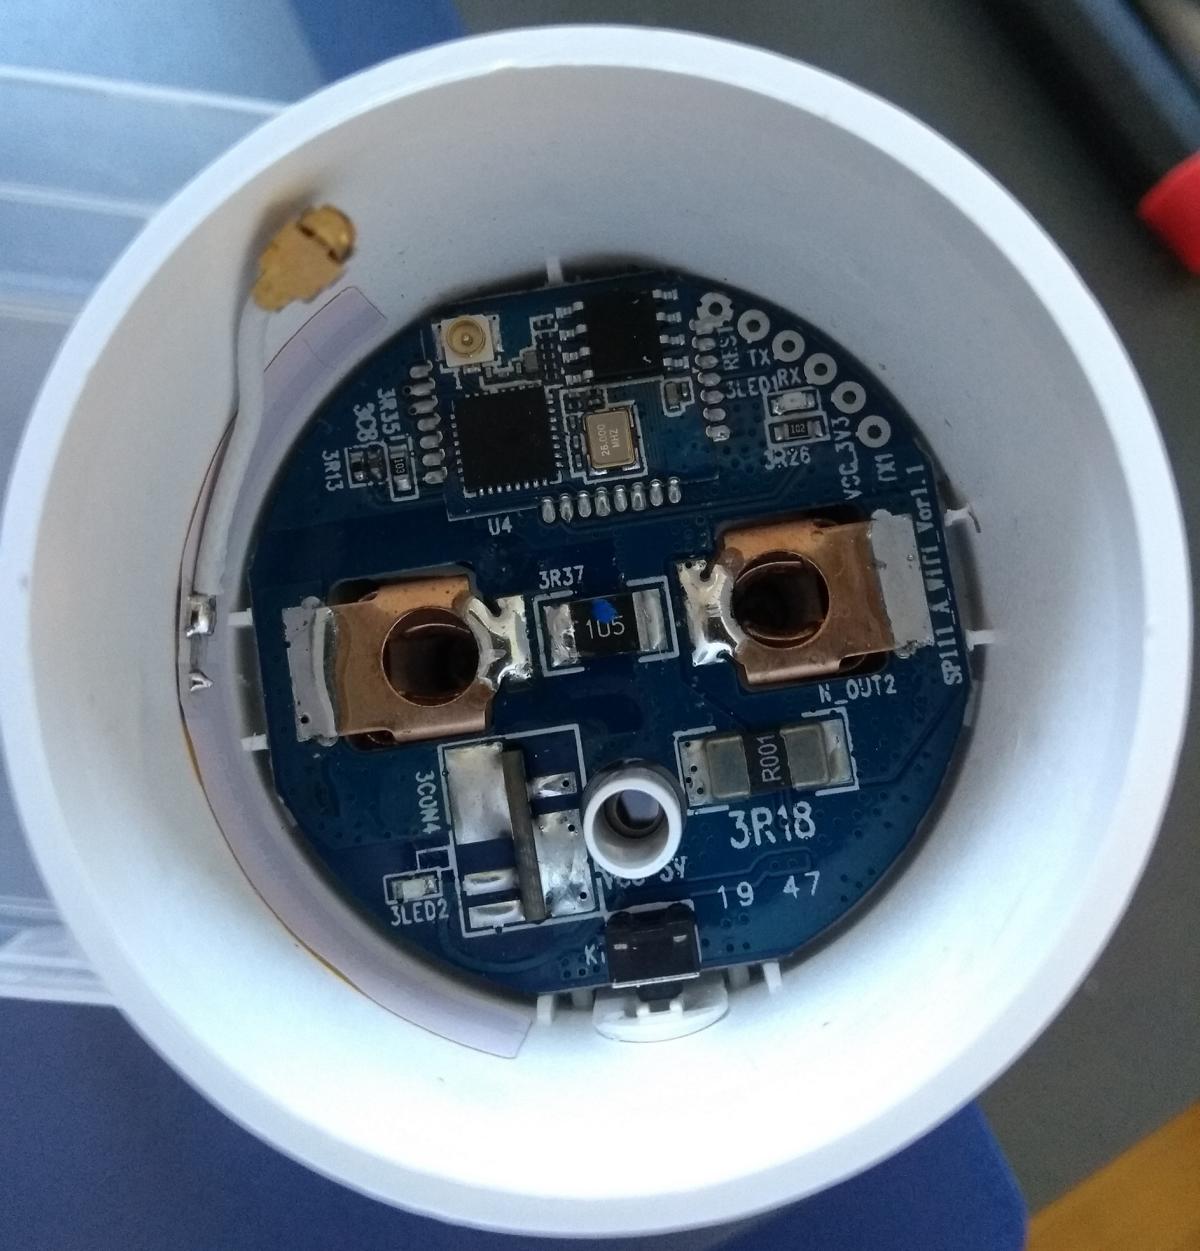
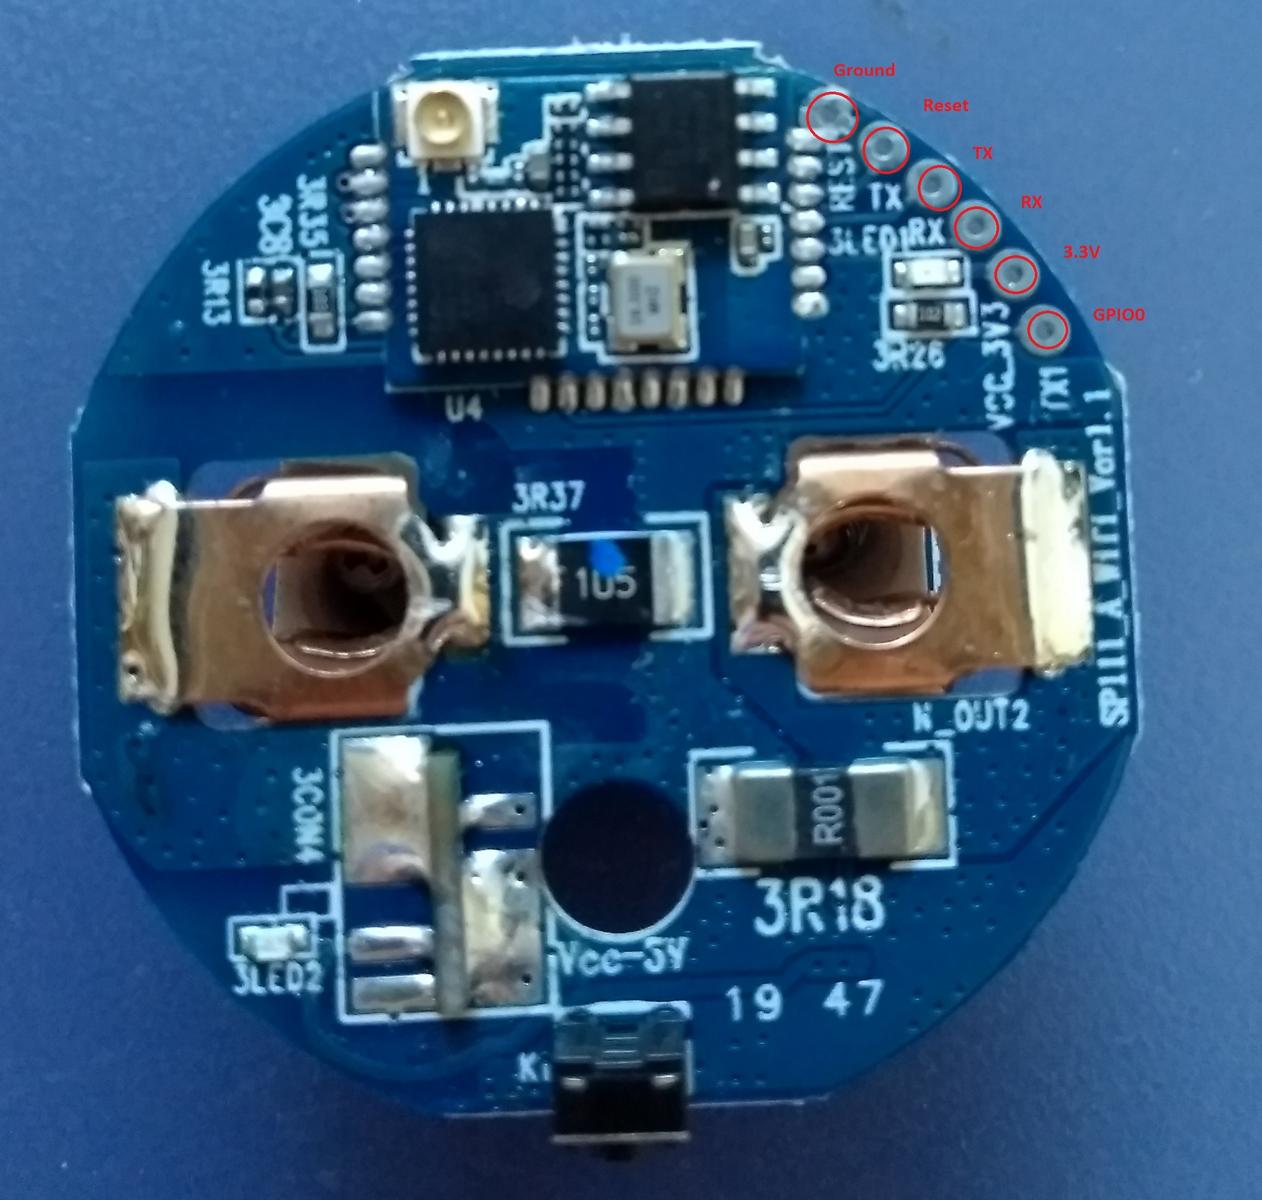
NOTE: If Tasmotizer or esptool timeouts, can't find your socket and nothing seems working, before tearing your hair out try swapping TX and RX connections on your serial adapter, i.e. TX on board connect to RX on adapter and similarly RX on board to TX on adapter.
NOTE2: GPIO0 can stay connected to GND always.
For version 2 (alternative layout)~
In case that device is not booting in flash mode - then your pinout is different - assume that GPIO0 is Reset pin, and put it to ground before powering on device.

Other photos~


Power monitoring calibration~
Approach the calibration using the Method 2. If not satisfied with the results, you could mod the SMD direct measure resistor or mitigate this using a Tasmota set of rules (values valid only for the 10A model):
Rule1 ON energy#power<=100 DO Currentcal 2500 BREAK ON energy#power<=500 DO Currentcal 2635 BREAK ON energy#power<=1000 DO Currentcal 2788 BREAK ON energy#power<=1500 DO Currentcal 2942 BREAK ON energy#power<=2000 DO Currentcal 3095 BREAK ON energy#power<=2500 DO Currentcal 3249 BREAK ON energy#power>2500 DO Currentcal 3402 BREAK
Rule1 1
Take the CurrentCal values above as a first approach and should be corrected through the Tasmota Method 2 calibration procedure: [[devices/Power-Monitoring-Calibration]]
Home Assistant configuration~
switch:
  - platform: mqtt
    name: "Blitzwolf"
    state_topic: "stat/blitzwolf/POWER"
    command_topic: "cmnd/blitzwolf/POWER"
    payload_on: "ON"
    payload_off: "OFF"
    retain: false

sensor:
  - platform: mqtt
    name: "Blitzwolf Energy Today"
    state_topic: "tele/blitzwolf/SENSOR"
    value_template: '{{ value_json["ENERGY"]["Today"] }}'
    unit_of_measurement: "kWh"
  - platform: mqtt
    name: "Blitzwolf Energy Yesterday"
    state_topic: "tele/blitzwolf/SENSOR"
    value_template: '{{ value_json["ENERGY"]["Yesterday"] }}'
    unit_of_measurement: "kWh"
  - platform: mqtt
    name: "Blitzwolf Energy Total"
    state_topic: "tele/blitzwolf/SENSOR"
    value_template: '{{ value_json["ENERGY"]["Total"] }}'
    unit_of_measurement: "kWh"
  - platform: mqtt
    name: "Blitzwolf Power"
    state_topic: "tele/blitzwolf/SENSOR"
    value_template: '{{ value_json["ENERGY"]["Power"] }}'
    unit_of_measurement: "W"
  - platform: mqtt
    name: "Blitzwolf Voltage"
    state_topic: "tele/blitzwolf/SENSOR"
    value_template: '{{ value_json["ENERGY"]["Voltage"] }}'
    unit_of_measurement: "V"
  - platform: mqtt
    name: "Blitzwolf Power Factor"
    state_topic: "tele/blitzwolf/SENSOR"
    value_template: '{{ value_json["ENERGY"]["Factor"] }}'