Teckin sp10
so I got a couple of these guys given to me 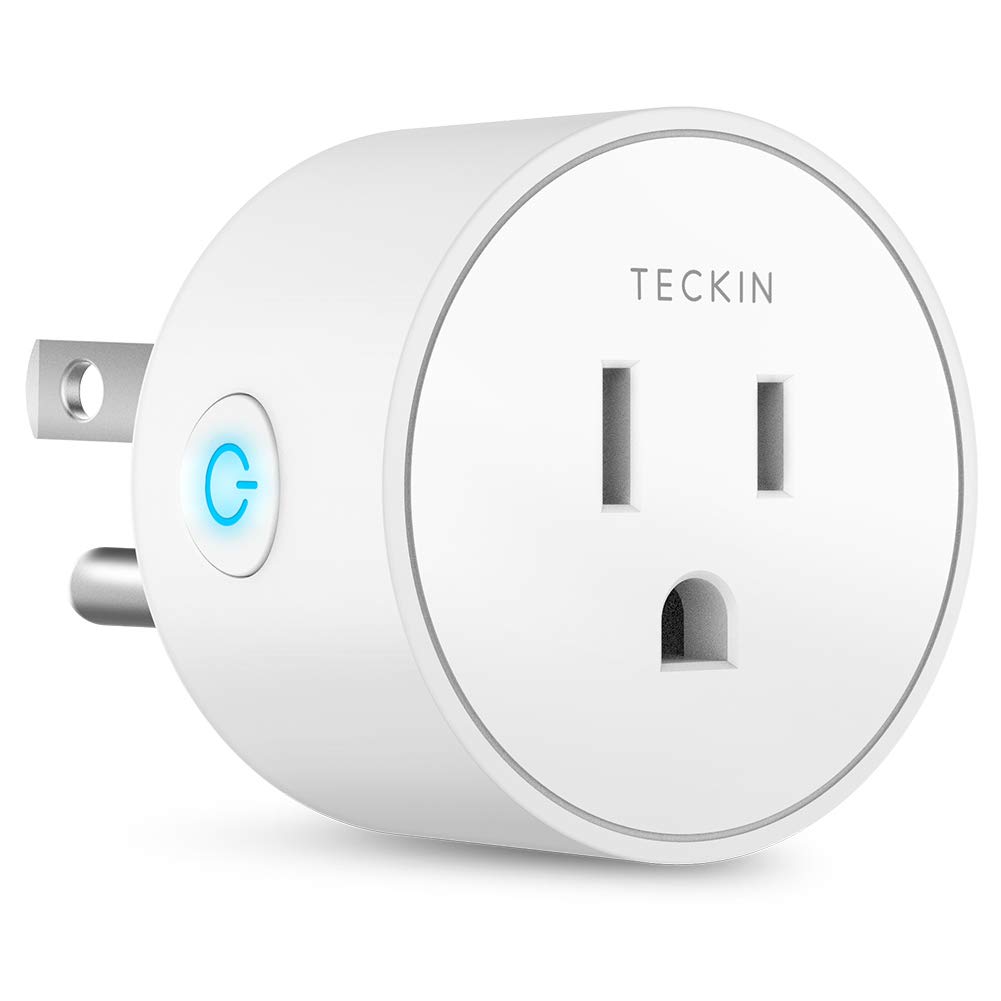
follow some great info here I found the esp8266 as expected in here I was able to identify the module as an esp8266-s3 spec sheet
@znanev did most of the work already the uk version of this plug as noted by Znanev
it took a great deal of time to confirm that I did indeed have the same pin outs as this UK plug I stumbled upon what I think is the original manufacturer of these but we will probably never know plug maker


I am going to now shamelessly steal from @znanev as he wrote this much better than I could have
WiFi module pins~
Here is a close-up view of the module's pins as seen from the bottom of the main PCB: 
And this is how module pins numbers are mapped (I had to desolder the module looking for labels when I tried to identify it): 
Failed to identify the module, I had remove the metal shielding cap to find the routing of the ESP8266's pins, so I grabbed the multimeter and soon I had the following table:
| Module pin | ESP8266 pin | Pin name | Pin name | ESP8266 pin | Module pin | |
|---|---|---|---|---|---|---|
| 1 | 7 | Chip Enable | Tout (ADC) | 6 | 2 | |
| 3 | 9 | MTMS / GPIO14 | MTDI / GPIO12 | 10 | 4 | |
| 5 | 12 | MTCK / GPIO13 | MTDO / GPIO15 | 13 | 6 | |
| 7 | 15 | GPIO0 | GPIO2 | 14 | 8 | |
| 9 | 16 | GPIO4 | GPIO5 | 24 | 10 | |
| 11 | 25 | U0RXD | U0TXD | 26 | 12 | |
| 13 | Vdd | - | - | GND | 14 |
Serial Connection~
For programming you need to solder 4 jumper wires to pins 11, 12, 13 and 14 (Rx, Tx, Vdd and GND). Connect the other end of the wires to your USB-to-serial adapter and make sure the supply voltage selected is 3.3V. Shorting pin 7 (GPIO0) to ground while plugging the serial adapter into the computer's USB port will bring the module into UART firmware upload mode.
Configuration~
Once Tasmota's WebUI configuration interface is loaded in the browser, you can change many settings using the menu options. Console window is where you can change almost all configuration parameters.
Head straight to the Configure Module menu, selected 'Generic' for 'Module type'. Here are the settings that I selected on that screen:

Sonoff devices usually have a bi-colour LED, but just one of the colours can be controlled directly. The other colour is usually tied together with the relay, so it cannot be controlled independently. I think that is the reason why the Tasmota firmware by default controls just Led1 when a single relay is configured. In the configuration above, only the blue LED will be used (tied to GPIO2). But if you prefer the red LED, just change the values for Led1i and Led2i (select Led1i for GPIO0 and Led2i for GPIO2).
end quote
if you care led 2 is blue and led 1 is red
I flashed the standard tasmota.bin file to it with out any problems with both the esptools and with arduino the one benefit to using arduino is that I was able to configure my wifi in advance
I hope to update this and clean it up but I thought I should get it up here as I found nothing about this plug before I forget to post and I can't remember any details.
Note: I have a newer version of this, labelled C7 HYS-X5-SOCKET_V1.2. The connectors for the ESP8266 board seem different. Still mapping them, but beware of following these instructions unless you know you have the same version. Update: looks like I actually destroyed the ESP8266 board somehow, using the software-only tuya-convert technique. After failing to get it to update, I opened up the case by putting it between two dowels in my vise, and tightening until it cracked open. There was zero resistance between pins 13 and 14. I fed it power at 3.3 volts to 1 amp, before giving up. An identical second plug updated without incident.